TKC Robot
Teaching your robot to move:
Talking via pins
How Machines Talk

Machines talk using on/off
Computers and machines use electricity to communicate and the simplest forms of communication are based on turning the electricity on and off again. Light switches work this way. When the voltage is high the light is on. When the voltage is low (zero volts) the light is off.
How Arduinos talk

How your robot talks to the world
Everything on an Arduino works via pins: digital pins (D0-D13) and analogue pins (A1-A7). Each pin is like a little light switch, either high (on)(True) or low (off)(False).
Under the hood
Learning what your robot actually does to turn motors off and on

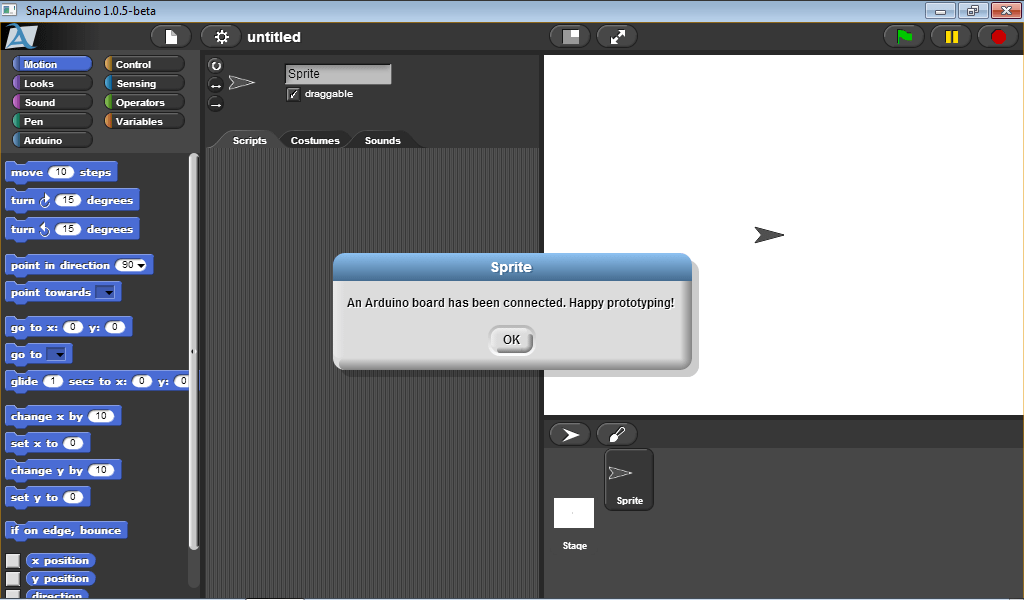
Connect your bot
First connect your robot, otherwise you will not see any digital pins (needed later). Go to
http://connectmybot.strikingly.com/
to find out how.

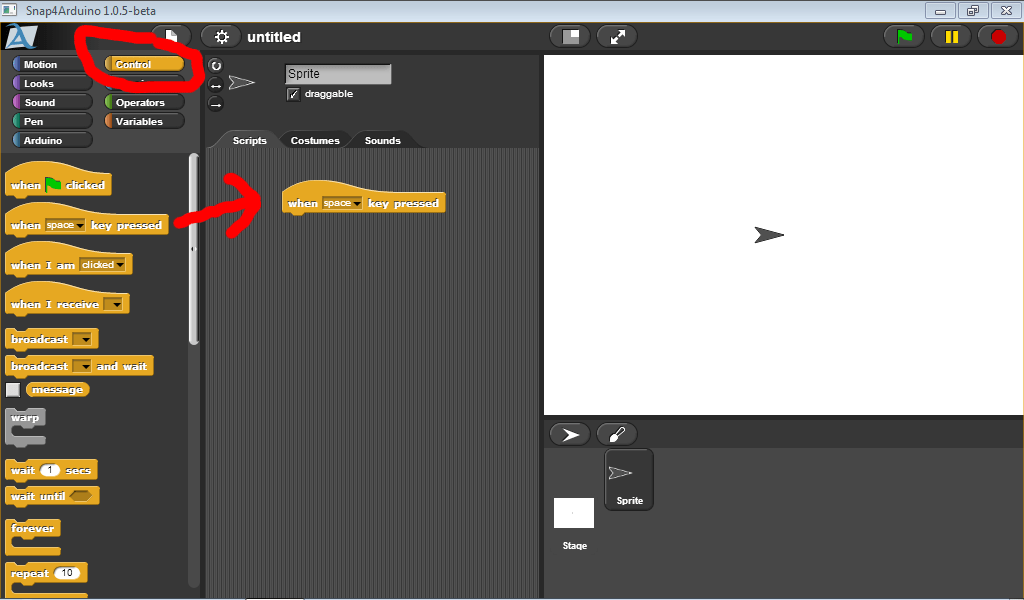
Start your program
You need a way to start your program. Click on the yellow control button and then drag a 'space bar' block onto your palette.

Turn on a pin
To get our robot to communicate to the world we need to light up an LED by turning on a digital pin, pin 13.
Click on the blue Arduino button and drag a digital pin block onto your palette.

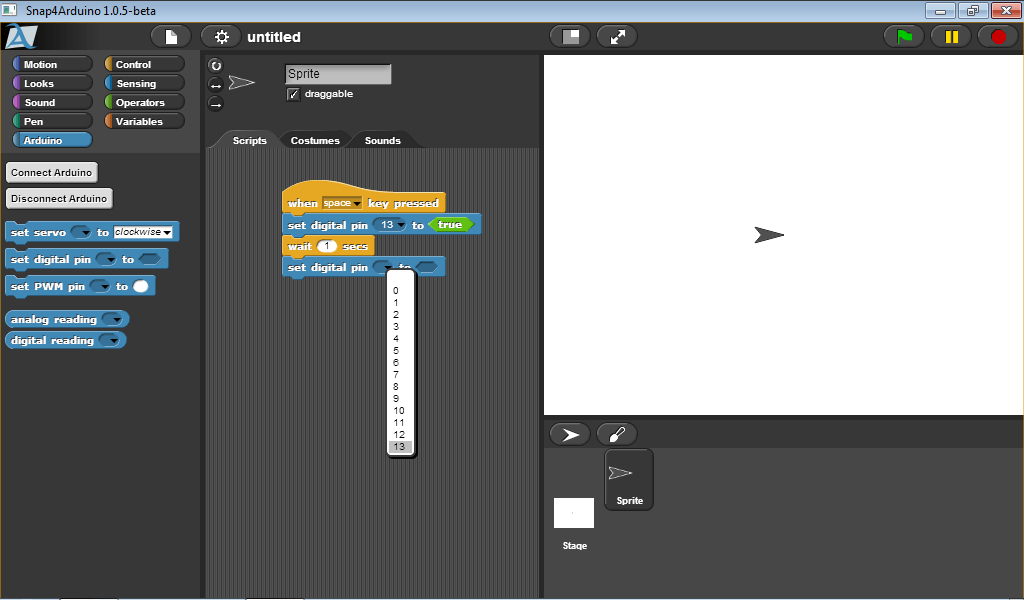
Choose your pin
Click on the little black arrow and then choose pin 13. Pin 13 is connected to the LED on the Arduino brains of your computer.
If you don't have any pins then go back to step 1 and connect Arduino.

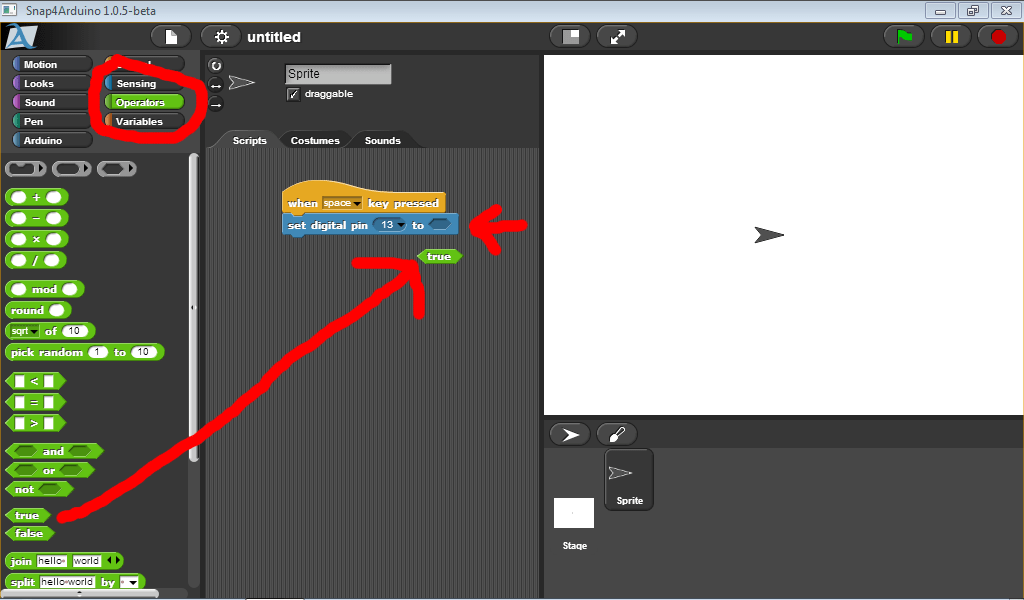
Turn the pin on
To turn on pin13 we need to set the pin to high (True).
Click on the green operators button and then drag a 'true' block up into the hole next to pin13.

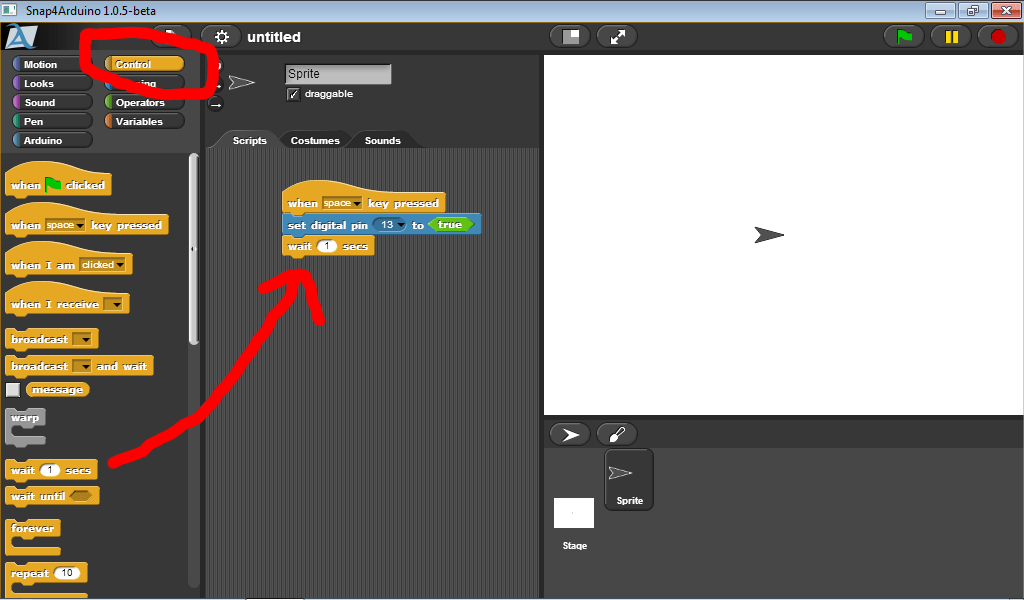
Hold on!
We need to make your robot wait for 1 second so that we can see the LED turn on, before we turn the LED off.
Click on the yellow control button and drag up a wait block and add it to the stack of blocks

Add another pin block
To turn off the LED we need to set pin13 to false.
Press the blue Arduino button and drag a 'set digital pin' block on to your stack of blocks.
Set the pin number to 13.

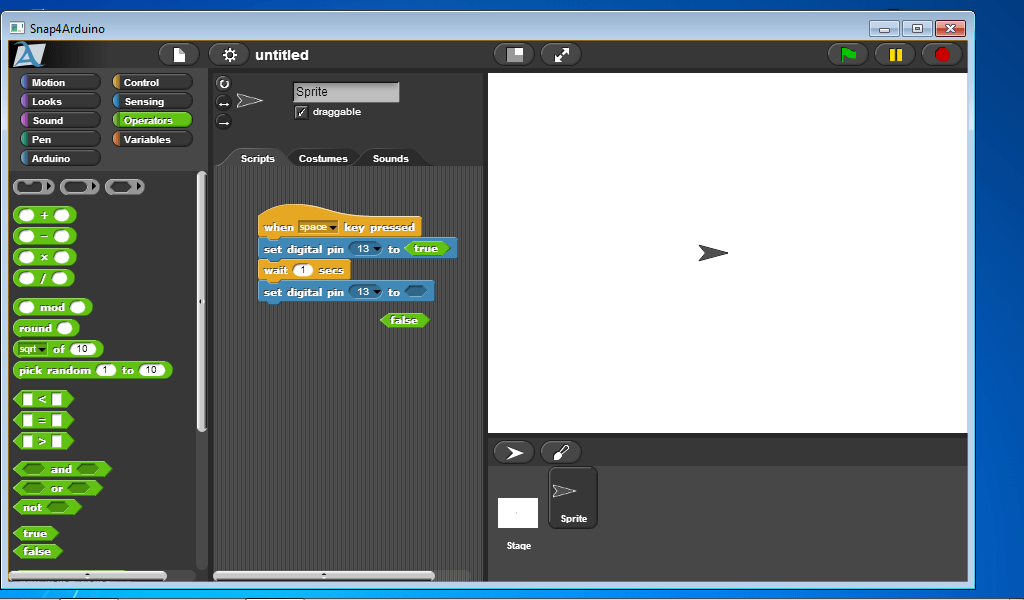
Turn off LED
To turn off the LED we need to set pin13 to false.
Click on the green operator button and drag a 'false' block into the hole next to pin 13.

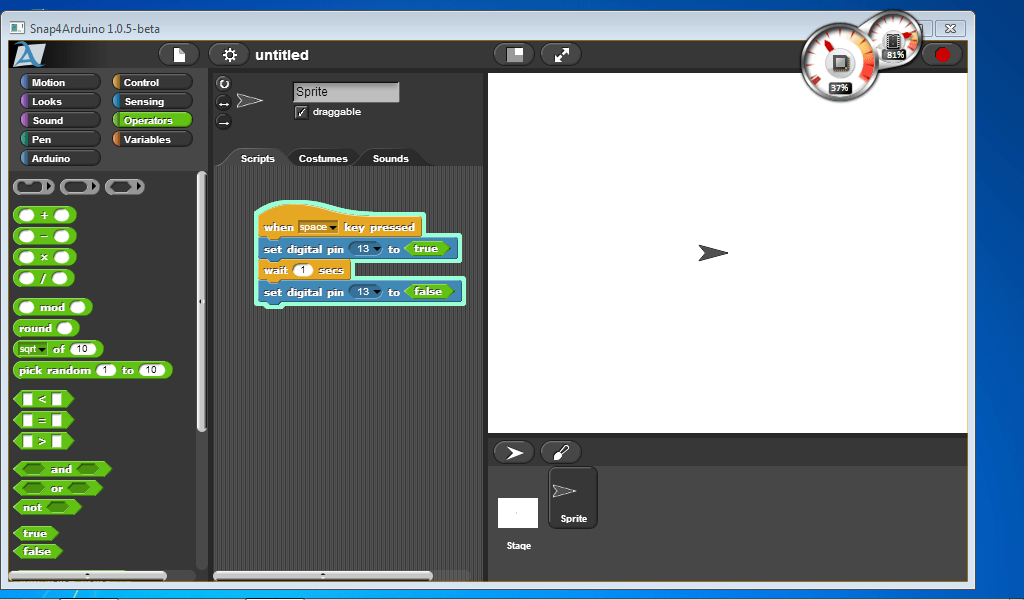
Make something happen!
Press the space bar on your computer and look at the Arduino brains of your computer to see what happens.
See the green line around your stack of blocks -- this mean that they are being run.

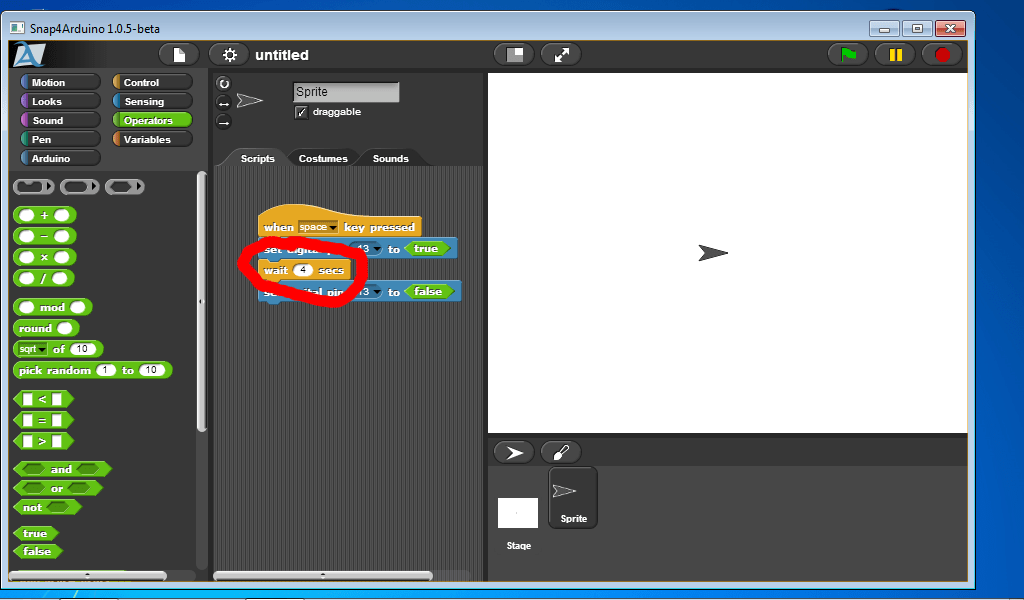
What does wait do?
change the wait time to four seconds and then press the space bar.
What does that do?
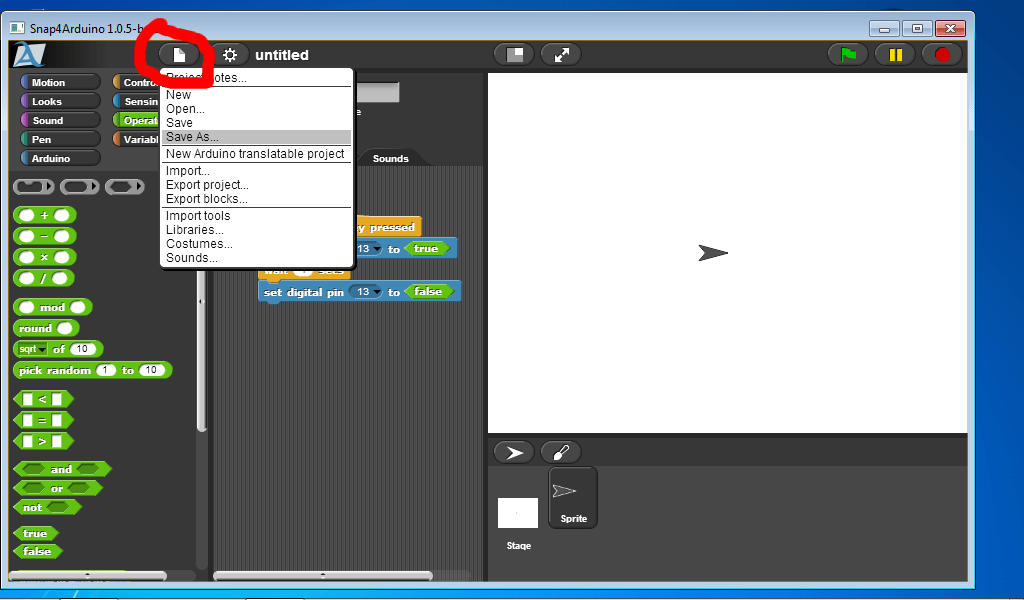
Save your work!!
Save your programs in case you make a mistake and delete something or if you need to look at your program later.
Click on the 'paper' icon and choose 'save' or 'save as'. You might call your program 'toggleLED'

Exploring how it works
Change the pin number on both blue blocks to pin 2, then press the space bar on your computer.
What happens?
What about the other digital pins?
How can you get the robot to move straight ahead?

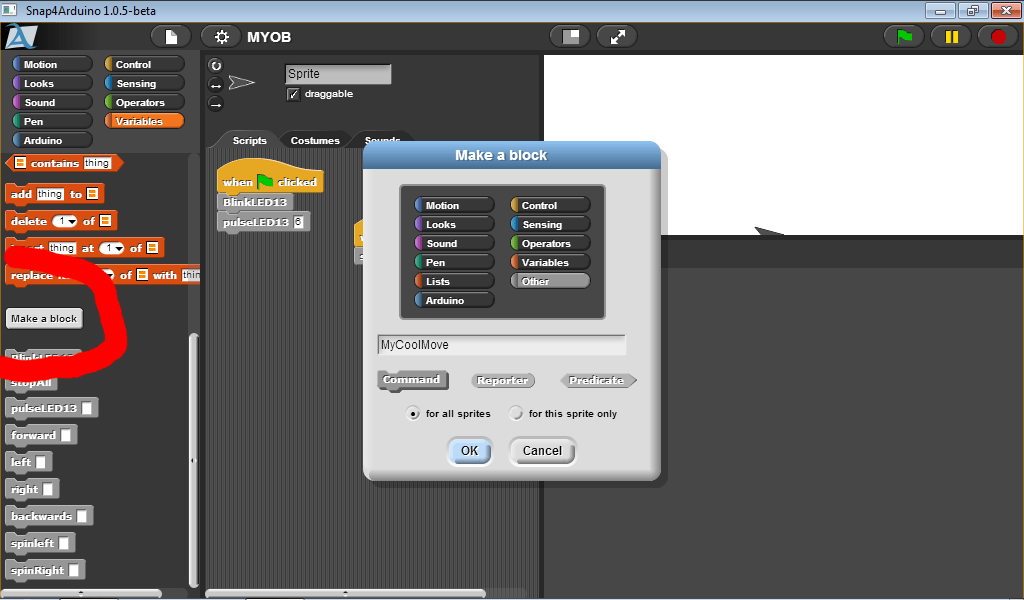
Make you own block
Now that you know how to control the Arduino pins, wrap all the steps up together into a custom block to make them easier to use: customblocks.strikingly.com (not yet)